Monday, March 26

Get Off the Lemongrass!

Until five minutes ago I had no idea that the phrase "get off the grass" meaning an exclamation of disbelief, is a New Zealand one.  Well, it is according to a kiwi words and phrases site which lists it alongside "I'll have your guts for garters" and  "give your ferret a run." 

Cymbopogon (lemongrass) is a genus of about 55 species of grasses and is native to India and tropical Asia. It is widely used as a herb in Asian cuisine. It has a subtle citrus flavour and can be dried and powdered, or used fresh. Lemongrass oil is used as a pesticide and a preservative. Research also shows that lemongrass oil has anti-fungal properties. What a handy herb!

Lemongrass Love. 

Mr R is quite scared of lemongrass.  I suspect he once got a wad lodged in his throat.  So, on Saturday I took it upon myself to cure him of this phobia by combining it with the one thing he can't resist... 

Chocolate.  Lemongrass. Tart.  Based on a recipe in Maria Elia's The Modern Vegetarian.  Thought it sounded suitably 'fusion' to follow some pumpkin dumplings, Vietnamese rice pancakes and a bottle of sake which we drank at the kitchen bench pretending it was a bar in Tokyo.  That's what I was pretending anyway.  God knows where Mr R thought himself.    

First, I made the pastry by combining 200g plain flour, 70g caster sugar and 100g chilled and cubed butter in a food processor until the mix resembled breadcrumbs.  Then, with the whizzer still whizzing, I added two egg yolks and about two tablespoons of milk.  You want the ingredients to clump together and this can happen quite suddenly so be sure to add the milk slowly.  Then I removed the pastry, rolled it into a ball, wrapped it in clingfilm and popped it in the fridge for 20 minutes.  Once chilled I rolled it out on a floured surface and pressed it into a greased 20cm diameter fluted tart tin. Naturally being pastry, it didn't fully co-operate and I had to mend the odd hole before cutting away the edges.  Then, and this was a quite a revelation to me, I put it in the freezer for 15 minutes which Maria says prevents the pastry from shrinking during cooking.   And she was right! To cook the shell I lined it with baking paper, filled it with rice and baked it at 180 for ten minutes.  I then removed the paper and the rice and put it back in the oven for 5 minutes by which time it was quite golden.

Meanwhile, I prepared the filling.  Into a large heatproof bowl went 275g dark chocolate (250g into the bowl, 25g into my mouth), 275ml double cream, three teaspoons ground ginger, the juice of one lime, three kafir lime leaves, chopped and four sticks lemongrass, also chopped.  I heated the bowl over a pan of simmering water until the chocolate melted and the flavours fused.   Once cool, I used a sieve to liberate the chocolate mixture from the lemongrass remains.  Finally, I whisked in six egg yolks before pouring the mixture into the waiting pastry case and popping the whole thing back in the oven for five minutes until the chocolate had set.  Best served at room temperature and stored in the fridge,  I served the tart with fresh lychees and a teeny bit of sour cream though Maria suggests using white chocolate.  Admittedly I did attempt to melt some white chocolate buttons but by then I'd half a bottle of sake and managed to melt the bowl and the buttons. Nevermind, it was rich enough anyway.
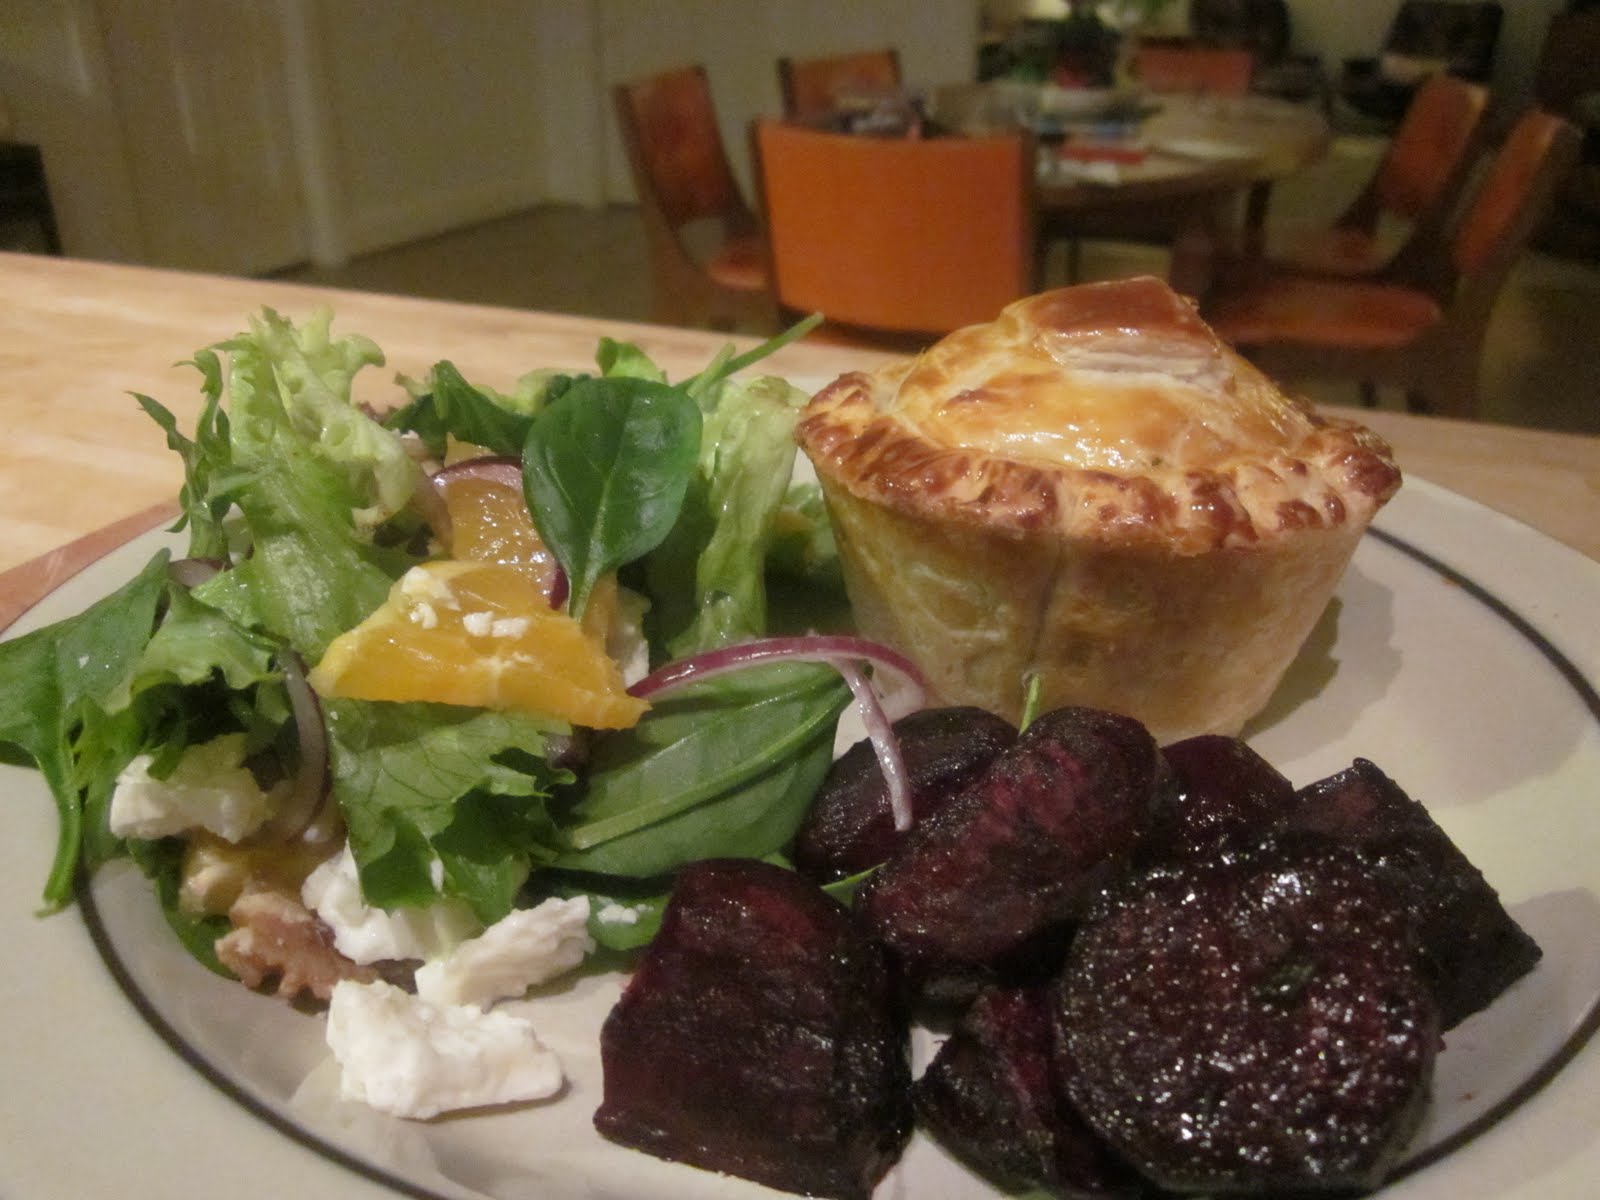
First course...

Second course...

Third course.

Friday, March 2

Ask Me If I'm a Potato...

No!  No I'm not a potato! 

But thanks to The European Cultivated Potato Database (ECPD) we know that there are over 5,000 varieties of potatoes on Earth!  I only grew one myself.  One variety that is.  Not one potato.  I'm quite the gardener now and estimate my yield at approximately 22.  Dutch Cream they were.  Something about the name appealed to me.

My actual Dutch Creams!
Hugh Fearnley-Whittingstall likes potatoes too, his new River Cottage Veg Everyday cookbook is heaving with  recipes featuring our humble friend.  That sounds like something Hugh would say, doesn't it, "our humble friend the potato."  That in fact is my only complaint about the book, one can't help but read it in a sort of Hugh-voice.  You can drive yourself crazy if you're doing three courses!

His recipe for Spiced Spinach and Potatoes looked easy enough especially given that I had all the ingredients awaiting either in the cupboard or the soil.  (I'm quite the gardener now!) 

I prepared 400g of  potatoes by simply giving them a light scrub, cutting them to equal size and popping in a saucepan.  No need to peel unless they're as tough and leathery as one's old shoulders.  Then I covered them in cold water, bought them to the boil and simmered for about 10 minutes before draining.  Hugh washed his 400g spinach thoroughly and let it wilt in a tiny bit of water for a few minutes in another saucepan over a medium heat.  I washed mine with gay abandon and wilted it in the microwave for one.  Once it was cool enough to handle, I removed as much liquid as possible (wrapping it up in a clean teatowel and squeezing it like crazy is a good method), then roughly chopped it up. 

Whilst the spinach was cooling, I sauteed one large thinly sliced brown onion in sunflower oil until soft then added a finely chopped garlic clove, a finely chopped red chilli, a teaspoon of ginger paste and two teaspoons of garam marsala.  This sizzled away until fragrant (only a couple minutes), at which point I added the potatoes and chopped spinach.  Optional, says Hugh is 2 or 3 tablespoons of double cream or coconut cream.  So I added about half a can of coconut cream and let it simmer for a little longer.   I suppose you could serve it with rice or naan, but given the issue of Mr R's middle-age spread, I served it with a dollop of mango chutney and some fresh coriander.  He certainly enjoyed the potato component but wasn't so keen on the caterpillars still clinging to the spinach. 


Oh, it's nice to be back!  Here's a special song to celebrate. 


Monday, August 29

Don't Worry My Little Dumpling, Daddy's Gonna Make It Alright

Ohhh, there seems to have been quite some time between posts. Let’s blame a technical hitch, shall we? It’s not like one spent the past two dark and frozen months lying inert by the fire snivelling into a tankard of shiraz and mumbling incoherently at the television, the horrors of which only Seasonal Affective Disorder can bring. Not like that at all.
Dumplings though! Dumplings could warm the heart of Otzi the Iceman. And I’m talking the Chinese variety. Those slippery, wrinkly, salty, slightly rubbery little pouches of delight that can be savoured in the mouth one or two at a time.

Chinese dumplings (jiaozi) may be divided into various types depending on how they are cooked: boiled, steamed or shallow fried. In China, jiaozi are eaten all year round and at any time of the day – breakfast, lunch or dinner. They can constitute one course, starter or side dish, or the main meal. Every family has its own preferred method of making them, with favourite fillings, and of course, jiaozi types and preparation vary widely according to region. According to folk tales, jiaozi were invented by Zhang Zhongjing, one of the greatest practitioners of traditional Chinese medicine in history. They were originally called "tender ears" because they were used to treat frostbitten ears. (Which is very handy to know in this climate).

A prosthetic frostbitten ear.  Image courtesy of Bodytech Emporium.

To save leaving the house, one recently whipped up some jiaozi. Two kinds – steamed and shallow-fried. The steamed contained a fine filling of mashed firm tofu, finely chopped oyster and shitake mushrooms (lightly sauteed first), finely chopped coriander, about a centimetre of freshly minced ginger, not much minced red chilli, a splash of sesame oil and a glug of kecap manis. I love Kecap Manis. And I believe he loves me.

Using store purchased dumpling wrappers I shaped these ones into round ‘twist-top’ dumplings, making sure to apply some water around the edges to ensure they stayed together and being careful not to over-stuff them. These were then steamed in a two-tiered bamboo steamer for about fifteen minutes. You can tell they’re ready when they go slightly transparent and wrinkly.

For the shallow-fried variety, I mashed up a large orange kumara (sweet potato) which I had baked in the microwave, some finely chopped red chilli and some salt and pepper to taste. Easy as that. These ones I shaped into what the Chinese probably don’t call ‘quarter moons’ and shallow fried them in grapeseed oil and a little sesame oil for about 10 to 15 minutes until the skins were golden and bubbly.

One has been growing one’s own greens over the winter which when sauteed in plenty of garlic, yet more sesame oil, a drop or two of tabasco, some teriyaki sauce and finished with a sprinkling of toasted sesame seeds, make a delightful accompaniment to the jiaozi.
Jiaozi Two Ways

Look at moi!  Look at moi!  Tending to ma greens...
This month I shall be endeavouring to update my musical tastes.  But until then, here's a little something from the vault...

Wednesday, June 15

The McBenry Cabbage Butterfly Defence Method

One’s vegie patch is teeming with brassicas. Though some have been ravaged by the dreaded Large White, early on I adopted the McBenry Cabbage Butterfly Defence Method with stunning results. For those unfamiliar with the McBCBDM, it is an organic, high-tech system of pest control invented by My Grandparents. “Grandmother McBenry, what do you use to deter cabbage butterflies?” “Well dear, your Grandfather McBenry sits in the garden wearing a hat-deterrent and wielding a tennis racket. And, should they dare to land, he swipes furiously at the winged creatures shredding their tiny paper wings to confetti! Battering their young into caterpillar pulp and mashing their eggs betwixt his gnarled old fingers!”

And so I found myself on Saturday with broccoli to spare. Broccoli evolved from a wild cabbage plant on the continent of Europe. Indications point to the vegetable having been around for some 2,000 years. It is high in vitamin C, as well as dietary fibre, and it also contains multiple nutrients with potent anti-cancer properties, such as diindolylmethane and small amounts of selenium. Because of these special properties, broccoli can sometimes get ideas above its station. Nevin and Patricia here are a case in point…
Nevin & Patricia appear courtesy of SMN/flickr

I also found myself with a recipe for Paneer with Broccoli and Sesame which I had the good fortune to have cut out from the Australian Good Food magazine earlier in the week…

Into a pan of boiling water for two minutes I put 200 grams of broccoli florets, before submerging them in icy water and draining thoroughly. Next, I heated a tablespoon of vegetable oil in the wok and stir-fried a tablespoon of sesame seeds, a teaspoon of brown mustard seeds and a teaspoon of cumin seeds until fragrant. (Beware, the mustard and cumin seeds are prone to popping in your eyeballs). Having regained my sight, I added one thinly sliced onion, a 140g packet of paneer (cubed), a tablespoon of freshly grated ginger and two crushed garlic cloves. The recipe suggests that it should take four to five minutes for the paneer to become golden but mine took a little longer to change hue (about 10). Almost last but not least, comes the par-cooked broccoli and once heated through a teaspoon of lemon juice and half a teaspoon of mace finishes it off nicely. A quick and tasty dish which The Robertsons teamed with Curried Yoghurt Chickpeas, Cumin & Lime Rice, Naan Bread, Mango Chutney and Eggplant Pickle. No wonder one’s trewsers were tight!


The Leftovers


Whatever happened to Macy Gray?

Tuesday, June 7

Go the Pies!

Winter has come to The Ranges. And with it the urge to do nothing but position one’s pasty loins beside the fire, devour bottles of red wine, watch marathon sessions of ‘Don’t Tell the Bride’ and eat. Pasta with gloopy, creamy sauces. Potatoes smashed with butter and shitloads of salt. Pizza drooping under the weight of quattro formaggio. Pies. Hot puffy pies!

If the producers of "Julie and Julia" don't call soon, I'll eat my pie hat!
The first pies appeared around 9500 BC, in the Egyptian Neolithic period. Early pies were known as galettes, wrapping honey as a treat inside a cover of ground oats, wheat, rye or barley. These galettes developed into a form of early sweet pastry or desserts, evidence of which can be found on the tomb walls of the Pharaoh Ramesses II, who ruled from 1304 to 1237 BC.
 
Yesterday, having very little experience in the world of pie-making, I bravely attempted some of the mushroom variety. And lo and behold they were pretty, pretty good. Certainly Mr R had a hard time resisting Mrs R’s Flakey Fungus Pie. Herewith the recipe…

I began by roasting a handful of peeled shallots with some seasoning, a little olive oil and a splash of water until they were pearly and tender. Meanwhile, atop the stove, I sautéed four finely chopped cloves of garlic, one finely chopped red onion and three sticks of sliced celery (with plenty of leafage). Once tender I added lots of roughly chopped mushrooms! There were oyster ones, shitake ones, button ones and dried porcini ones (that had been soaking in about half a cup of boiling water). Then in went a large knob of butter and plenty of S&P. Once the mushrooms had cooked down a little, I added a couple of decent glugs of red wine, a ‘chicken’ stock cube, about a tablespoon of balsamic vinegar, a generous tablespoon each of finely chopped fresh thyme and tomato paste and finally the porcini liquid until all was a bubbling, fragrant stew. (You may need some extra liquid to achieve the stew-like consistency – I added a couple of tablespoons of water at this point). Having left the mixture to simmer for approximately ten to fifteen minutes, I then mixed in a tablespoon of cornflour and about 100ml of thickened cream and stirred until the liquid became a thick gravy. At this point I added the roasted shallots, seasoned to taste, and left the filling to cool…

Once cooled it was time to assemble the pies. Still not being the owner of a functioning food processor I went the way of supermarket puff pastry squares which I thawed for about ten minutes until pliable. Using a suitably sized saucer I cut out six large rounds for the pie bases and six smaller ones for the lids. Having already greased six large muffin cases, I lined each with pastry and filled them with the mushroom mixture which was now quite meaty and thick. On went the lids into which I sliced several air holes. Master R then decorated them with an odd assortment of shapes and brushed the tops with beaten egg yolk. Into the oven (at 180) they went for about 25 minutes, until golden. They were then allowed to stand for 10 minutes before being demolished alongside beetroot roasted with orange and thyme, and a feta and walnut salad. Hot puffy pies!
Master R applies the egg wash

Pie Fight!

Sunday, May 15

Unleavened Bread, Just Blows Me Away

The East–West Schism of 1054, sometimes known as the Great Schism, formally divided the State church of the Roman Empire into Eastern (Greek) and Western (Latin) branches, which later became known as the Eastern Orthodox Church and the Roman Catholic Church, respectively. Relations between East and West had long been embittered by political and ecclesiastical differences and theological disputes. Prominent among these was the issue of "filioque", meaning whether leavened or unleavened bread should be used in the Eucharist.


Jamie Oliver to the rescue! Those eyes! That hair! And his favourite “Anytime Garlic Flatbreads” could undoubtedly seal the Greatest of Schisms. One look, one taste and those hairy old Greek dudes would surely renege. My Hairy Old Scots Dude was putty in my hands come Good Friday when we demolished a job lot in record time. A bit of yoghurt dip here, some eggplant relish there…!

Big JO says to make the dough in a food processor. But if like me you don’t happen to own one that works, I can confirm that a good old fashioned wooden spoon and some elbow grease perform just as well. So, place 500grams of self-raising flour, one tablespoon of baking powder, 500grams of natural yoghurt (I used Greek!), and one tablespoon of sea salt in a large bowl and mix until dough-like. Then turn out onto a lightly-floured surface and knead for about a minute. Don’t be alarmed by it’s very soft and sticky texture, it’ll be all right in the end. Now leave it to rest in a floured bowl covered in a tea towel for at least 20 minutes. (Big JO doesn’t actually specify a time but having made it again since and charged ahead without letting it relax at all, I can confirm that this is of paramount importance).

Meanwhile you can make the garlic butter simply by melting 150grams of butter and stirring in two finely chopped garlic cloves (or more if you’re a real fan-o-garlic) and a small bunch of chopped flat-leaf parsley. Then it’s time for the cooking…

Pop a griddle pan over a high heat to warm up whilst you’re preparing the dough. Which you do by dividing it into 12 equal-sized pieces and rolling them into side-plate-sized rounds. Then make six or so incisions with a sharp knife in the centre of each round (leaving about five cm at each end). Cook each one on the hot, dry (no butter or oil required) griddle for about two minutes each side or until puffy and golden. Keep them warm in the oven and then just before serving brush them on both sides with the garlic butter. Lovely jubbly!
My Finished Platter

Monday, April 11

Introducing the Pear of Anguish

To be honest one would have expected the producers of ‘Julie and Julia’ to have been knocking down the door by now. But not a snifter. Not a sodding snifter.

However, I’m not the type to let down The Lucky 36! So this week’s offerings come to you courtesy of the humble pear…


The Pear of Anguish was used during the Middle Ages as a way to torture women who conducted a miscarriage, liars, blasphemers and homosexuals.
A pear-shaped instrument was inserted into one of the victim's orifices and consisted of four leaves that slowly separated from each other as the torturer turned the screw at the top. It was the torturer's decision to simply tear the skin or expand the "pear" to its maximum and mutilate the victim. Tough choice.

There’s a lovely organic pear stall at our local Farmer’s Market and feeling all autumny I purchased several with the intention of turning them into a comforting dessert. Which I managed rather ably, if I do say so myself (with a more than a little help from www.taste.com.au).

Firstly, I preheated the oven to 180 and greased and lined a 22cm cake tin. Then I chopped up 150g of dried pitted dates and soaked them in one cup, that’s one cup of boiling water and a teaspoon of baking soda. Using an electric beater I mixed 215g of caster sugar and 125g of butter until pale and creamy then added one egg. Next came 225g of self-raising flour and one teaspoon of cinnamon. To this I added the by now mushy date mixture and three peeled, cored and cubed pears and folded it all together with a big metal spoon before pouring into the tin. The recipe recommended baking for one hour and ten minutes but my splendid creation took about 55 minutes. Also, I covered it up with foil after 20 minutes because she went mighty brown, mighty quick.

The sauce is as easy as it is sinful. Simply place 185ml of cream, 50g of butter and 200g of brown sugar in a pan on a low heat and stir away for a few minutes until golden and slightly thick. Pour on top of the hot cake and serve with vanilla ice-cream. Like this…

By God, Mrs Robertson, You Should Have Been a Photographer!